
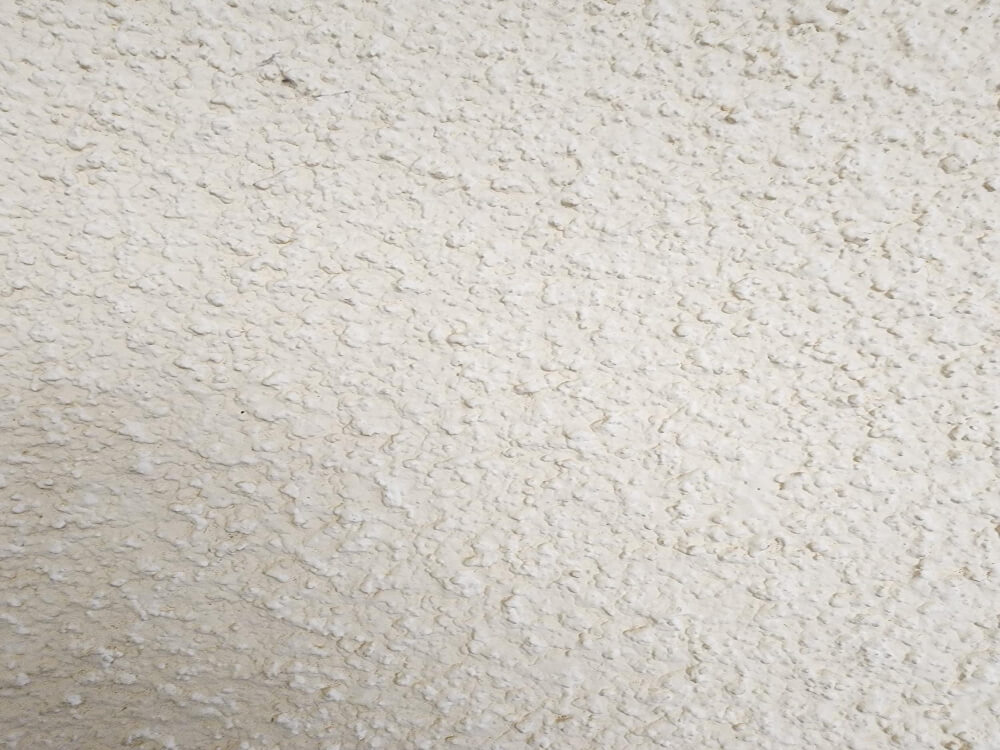
In the 1960s and 1970s, popcorn ceilings were very popular. It was quick and simple to disguise faults in plaster and drywall ceilings by applying texture; painting wasn’t necessary thereafter. However, fixing holes and cracks is a hassle because of its rough texture, which also draws dust and cobwebs.
Although it might be a dirty task, getting rid of popcorn ceiling can be worthwhile if the substrate underlying is in good condition. The below-given tips will help you know how to take off popcorn ceiling without encountering major difficulty.
Perform a scrape test
Before going to the expense of preparing the space, try scraping a tiny test area while learning how to remove popcorn ceilings. Try it dry first, then wet it down with water and give it another go. While some textures can easily be removed without water, soaking it works best most of the time. If the water doesn’t seep into the texture and make it softer, there’s a good chance that paint has been added to the texture mix or the ceiling has been painted. Then, soaking the ceiling might not be beneficial. You’ll need to determine if you want to attempt a challenging scraping project or go with a different method of covering up your popcorn ceiling.
Do asbestos test
Asbestos, a proven risk of lung cancer, is probably present in popcorn ceilings constructed before 1980. Get in touch with your local health department and inquire about having a sample analyzed before removing any popcorn ceiling texture. Should the test result be positive, replace the popcorn ceiling with fresh drywall or tongue-and-groove boards, or enlist the assistance of an asbestos abatement contractor to assist in its removal.
Take the furniture out
Eliminate any furniture from the space you plan to work in, if at all possible. You will want to move the ladder carefully so that furniture does not get in the way as you remove the popcorn ceiling. If it is not possible to remove everything from the room, group the items and cover them with drop cloths.
Detach fans and ceiling fixtures
Remove any fixtures after turning off the breaker to them. Although it may seem simpler to leave ceiling fans and lighting in place, doing so will just cause obstructions and get covered in damp popcorn scrapings. Furthermore, you want to avoid unintentionally misting electrical fixtures with water.
Cover electrical boxes
Electrical boxes in the ceiling should have their electricity turned off, and painter’s tape should be used to conceal them. By doing this, the wiring will remain dry when water is sprayed over the textured ceiling. Tape the junction box’s sides together, then trim the edges with a utility knife, being careful not to cut any wires.
Damp it using a sprayer
Use a garden pump sprayer to wet the ceiling to make scraping the popcorn ceiling easier and almost dust-free. Give it a good fifteen minutes to soak before scraping. Just lightly sprinkle it; too much water could cause the joint tape to come free or harm the walls. After 15 minutes, spritz it again and give it another 10 to 15 minutes if the texture hasn’t softened.
Also Read: 6 Benefits of Hiring a Pro When Considering Drywall
Work in small sections
Just a tiny area, roughly four square feet at a time, should be sprayed and scraped. Working on too much of a surface at once runs the risk of the popcorn drying before you can scrape it off. Should that occur, respray the region and give it another ten to fifteen minutes before attempting to scrape.
The Conclusion
Looking to avail professional handyman repair services in Cincinnati? Cincinnati Handyman is one of the pioneers in handyman services in Cincinnati Ohio and offers a wide range of services including drywall repair, bathroom remodelling, touch-up painting, smart home installation, etc.
Disclaimer- The information provided in this content is just for educational purposes and is written by a professional writer. Consult us to know about drywall repair.